You can install Wireshark on many operating systems, from Windows to Linux. The versatility of Wireshark is evident in its cross-platform support, making it a go-to tool for network analysis.
In this article, we will explain briefly what Wireshark is and walk you through how to install Wireshark on Windows, macOS, Debian, Fedora, and Arch. Each platform has a unique installation procedure, and we'll ensure you have step-by-step instructions to make the process straightforward.
We'll also dive into compiling Wireshark from its source code and guide you through the installation on an Ubuntu system.
If you’re ready to install Wireshark, let’s begin.
What Is Wireshark?
Wireshark is an open-source network protocol analyzer and packet sniffer. It can be used to inspect and analyze network traffic.
It provides a wealth of information, including the source and destination IP address, protocol type, and even payload contents.
Wireshark supports many network protocols, including Ethernet, TCP/IP, DNS, HTTP, and many more.
Wireshark's ability to decode the conversations happening in your network can be a powerful tool for troubleshooting network problems, analyzing performance, or learning more about what's happening in a network.
System Requirements
Let’s discuss the system requirements for Windows, macOS, and Linux.
Every Operating system requires, at the minimum, the following:
Processor: 64-bit.
Disk Space: 500MB or more of available disk space.
RAM: 1GB or more recommended.
And the following are the specific operating systems that will work with Wireshark for each platform:
Windows
Operating System: Windows 7, 8.1, 10, 11, Server 2012, Server 2016, or Server 2019.
Please note that while it's possible to run Wireshark on older versions of Windows, it may not work optimally.
macOS
Operating System: macOS 10.14 or later.
Linux
Operating System: Wide variety of Linux distributions.
Note: If you're working with large network data, your system will need extra processing power and memory. Also, while any Ethernet card can capture packets, a WiFi adapter that can be run in monitor mode is needed to capture unprocessed 802.11 (WiFi) data in its raw form.
How to Install Wireshark on Windows
Let’s walk through getting Wireshark installed on Windows. For our demo, we will be using Windows 10.
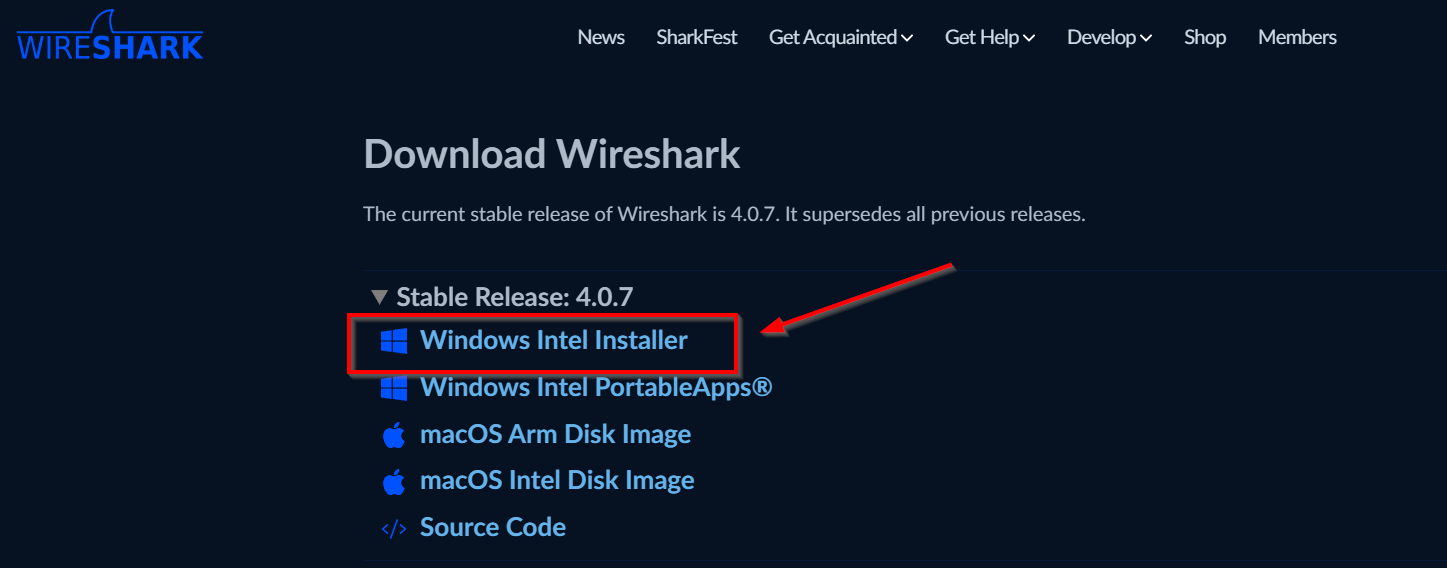
Your first step is to head to the Wireshark download page and locate the Windows installer.
Once your file is downloaded, you can open the file from your Download folder.

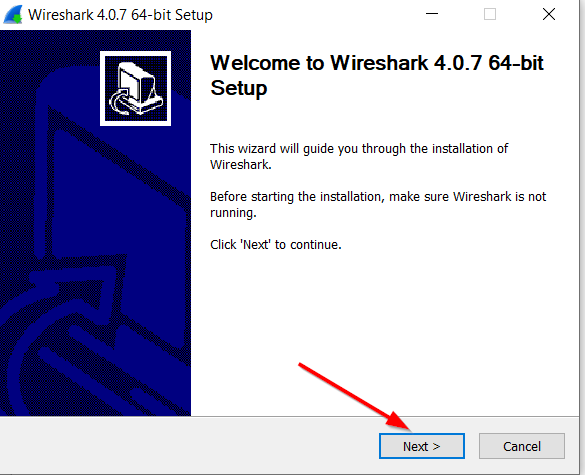
You will be presented with the Wireshark wizard to guide you through the installation. Click “Next.”
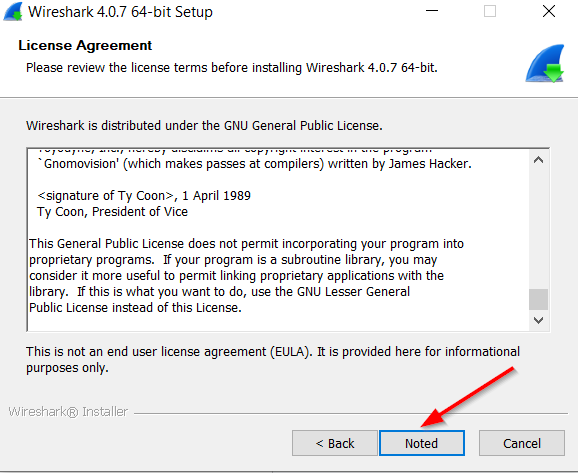
Next, you can review, agree to the license agreement, and click “Noted” to continue.
The next screen will ask if you want to donate to the Wireshark Foundation to help support Wireshark and Sharkfest at https://wiresharkfoundation.org/. Click “Next” when finished.
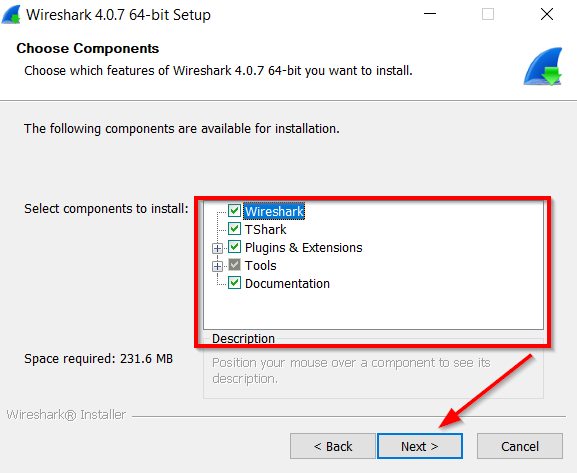
Next, you will be asked what components you want to install. You can make your choice and then click “Next.”
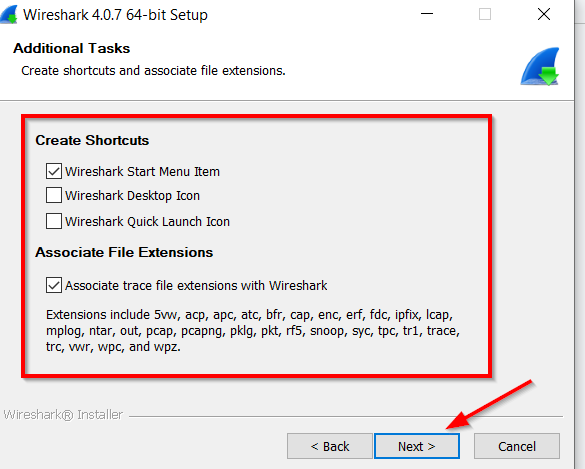
The following screen will ask if you want to create any shortcuts and if you want to associate trace file extensions with Wireshark (recommended).
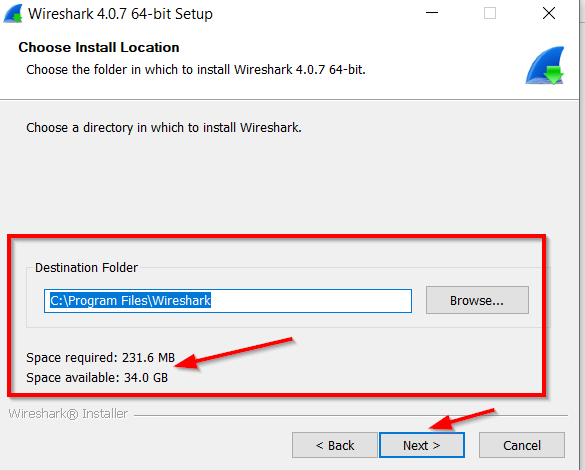
Next, you must choose a directory to install Wireshark in, showing you the space required to install it.
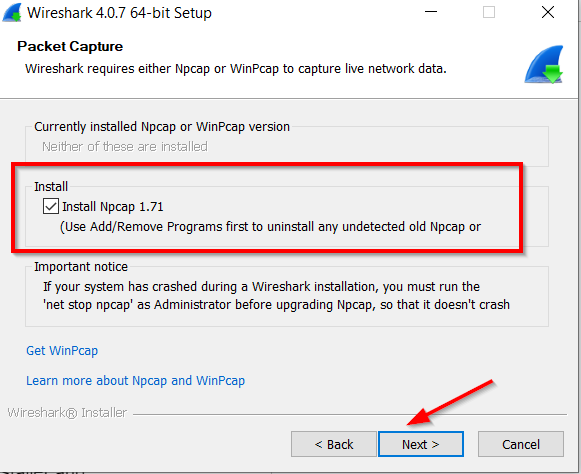
Now you must install Ncap (an open-source library for packet capture and network analysis). It’s a library allowing Wireshark to capture and analyze network traffic effectively. It enhances Wireshark's capabilities by providing optimized packet capture.
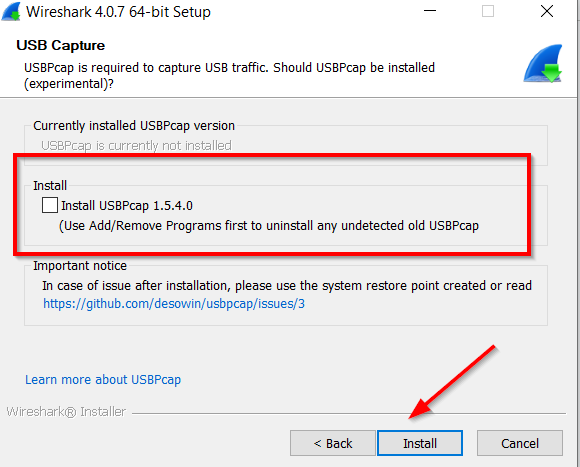
The next screen will ask if you want to install USBPcap, an open-source USB packet capture utility that lets you capture raw USB traffic, helping analyze and troubleshoot USB devices.
This is not mandatory; you only need it to analyze USB network traffic. It's not necessary for general network packet capturing and analysis.
Click “Install” to begin the installation.
Wireshark will now begin the installation process.
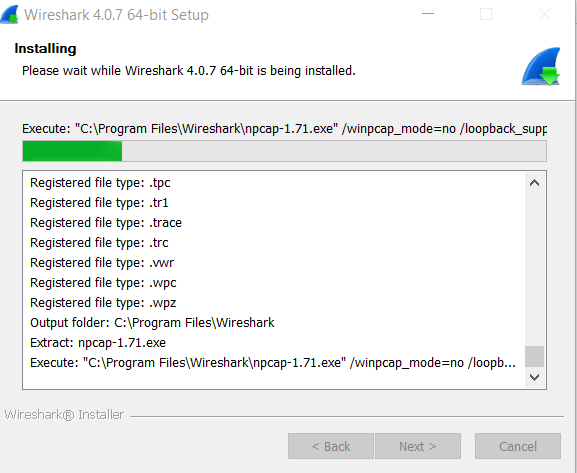
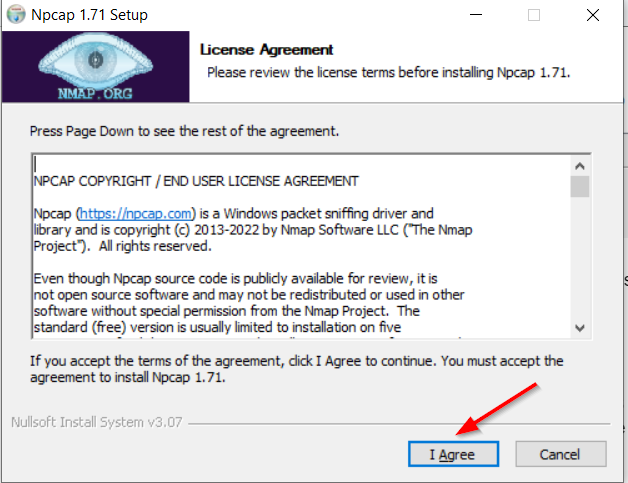
A window will pop up during installation to install Ncap. The first window will ask you to agree to the license agreement for Ncap.
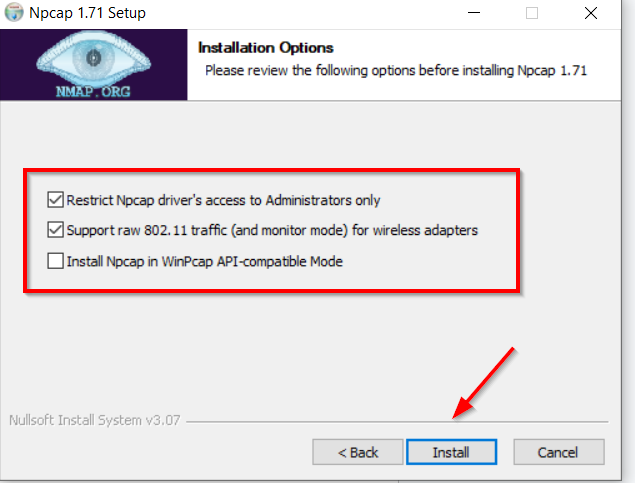
Next, Ncap will ask you to select which options you want. You can leave the default option selected: "Support raw 802.11 traffic (and monitor mode) for wireless adapters."
This allows Npcap to capture WiFi traffic in "monitor mode," which can be useful for troubleshooting WiFi issues or doing security research. Not all wireless adapters support this mode, so check if yours does before enabling this option.
You can also select Restrict Npcap driver's access to Administrators only. This is a security setting. If you check this, only administrator accounts can capture packets.
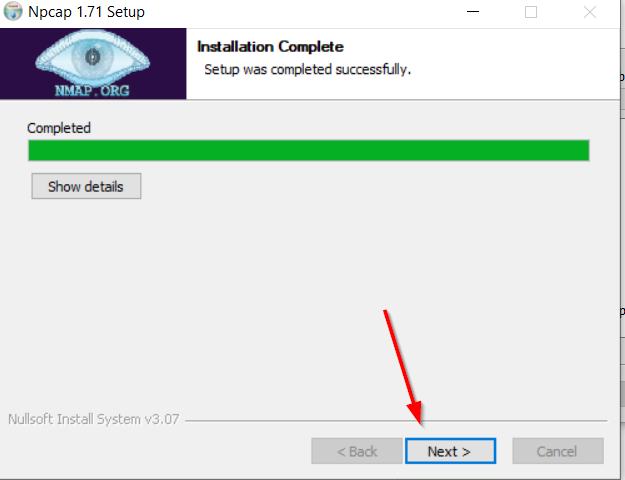
Ncap will begin the installation; click “Next” once complete.
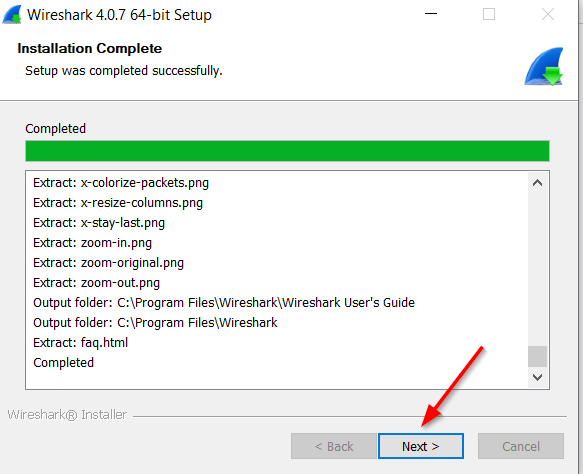
Wireshark will now complete its installation. Once complete, you can click “Next.”
On the last window, click “Finish” to complete the setup.
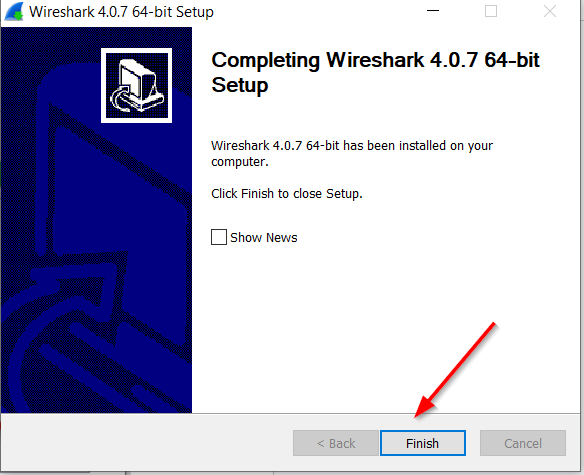
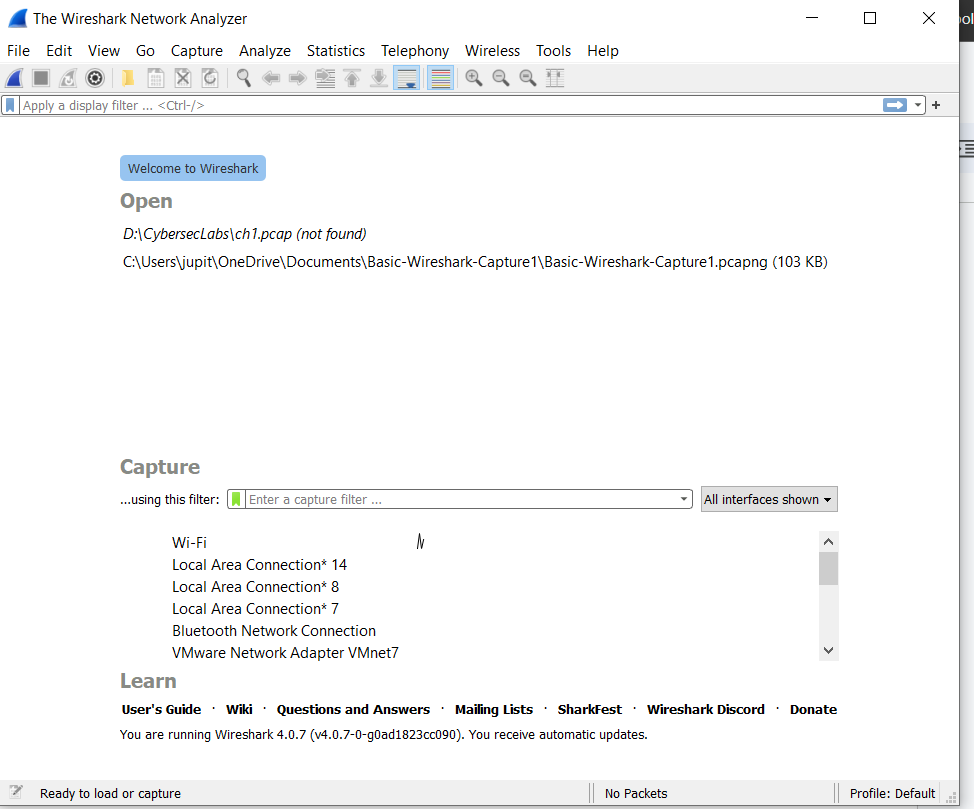
Wireshark will now be installed, and you can begin packet capturing.
How to Install Wireshark on macOS
Below, we will guide you through the installation process for Wireshark on macOS.
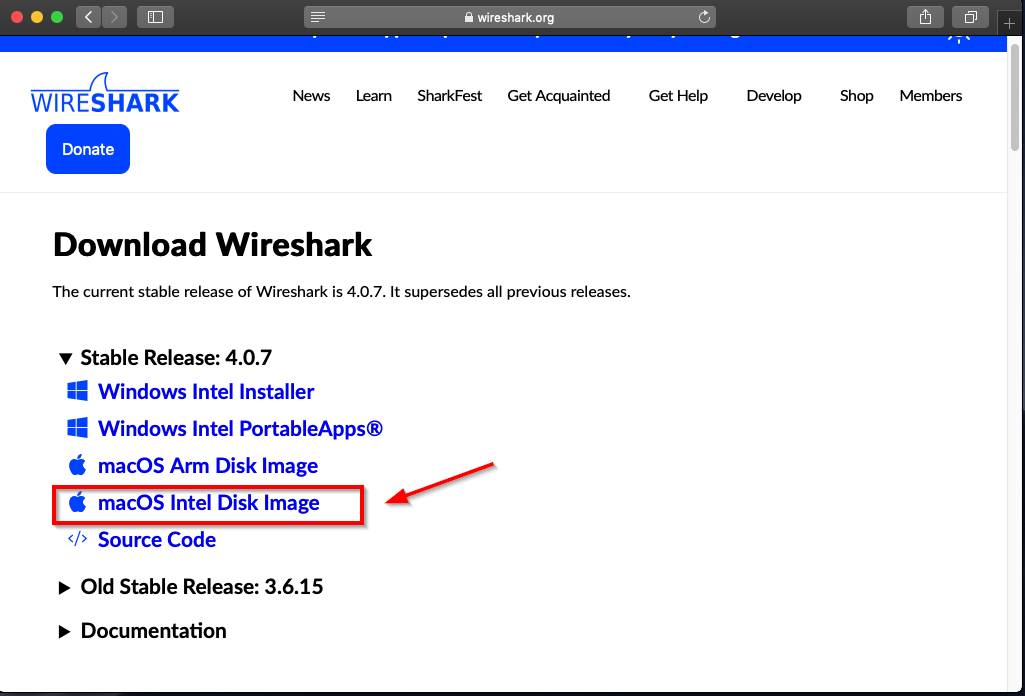
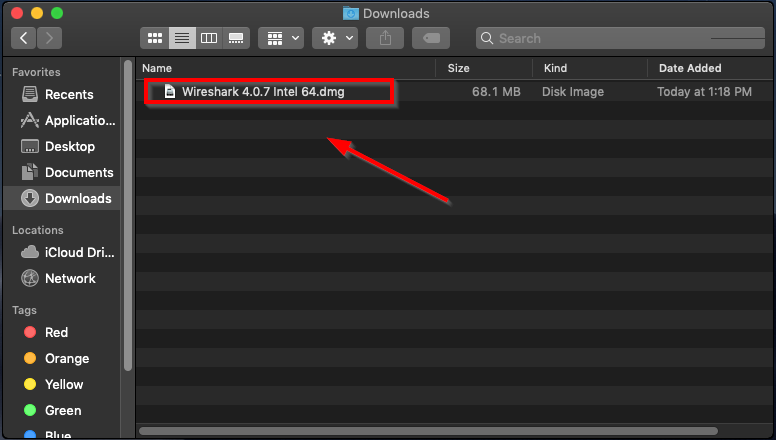
First, head to the download section of the Wireshark website and download the macOS Intel disk image.
Next, locate your package in the Downloads folder and open it.
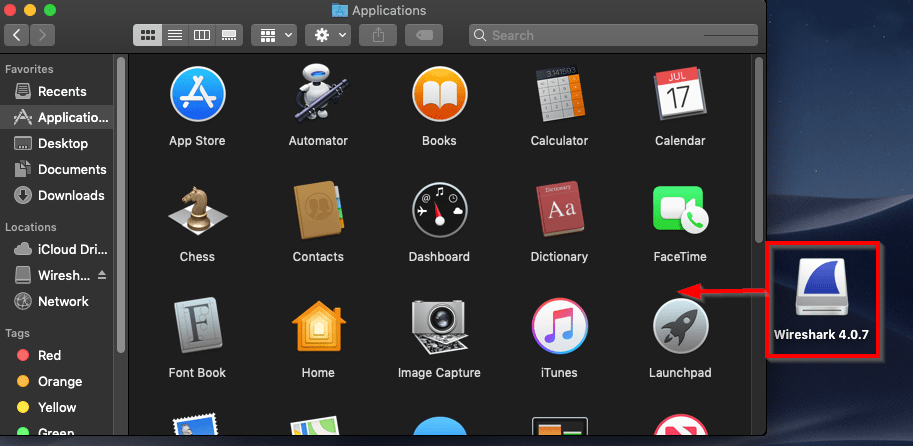
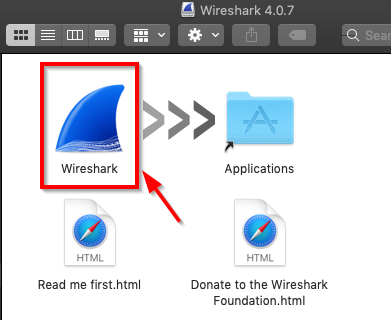
Next, drag the Wireshark application bundle from the Desktop to the Applications folder.
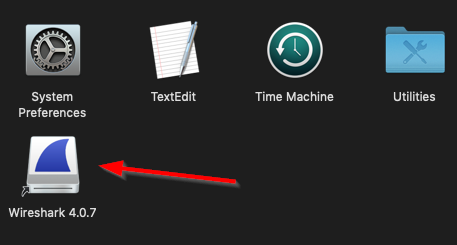
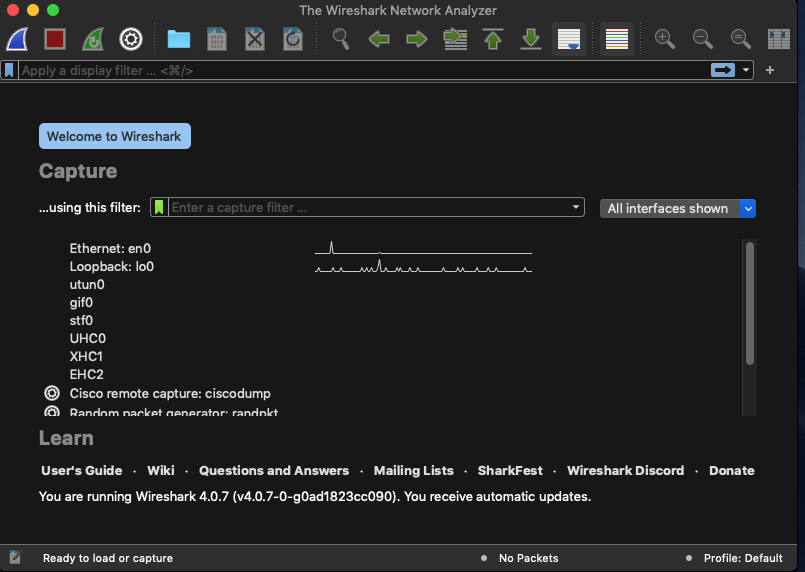
Double-click on the Wireshark application.
Once opened, you will be presented with the following window that includes all the relevant information needed to get Wireshark installed on macOS.
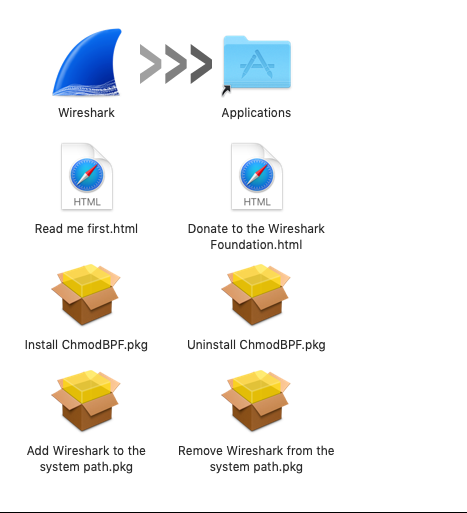
Next, you must install the ChmodBPF package to capture packets. This allows Wireshark to use the necessary permissions to capture network traffic directly from the network interfaces.
Without ChmodBPF, Wireshark would require root privileges to perform packet captures.
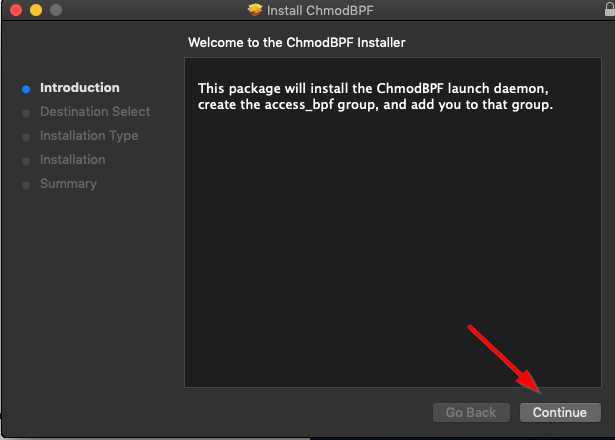
You will be presented with the Chmod installer. Simply follow the steps to install this package.
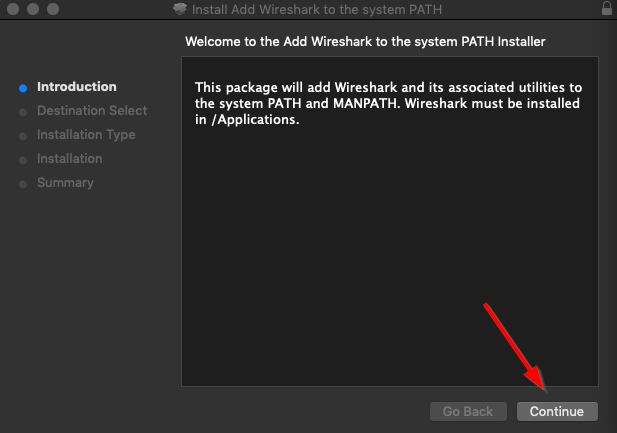
Next, you will need to add Wireshark to the system path. To do this, select “Add Wireshark to the system path.pkg.”
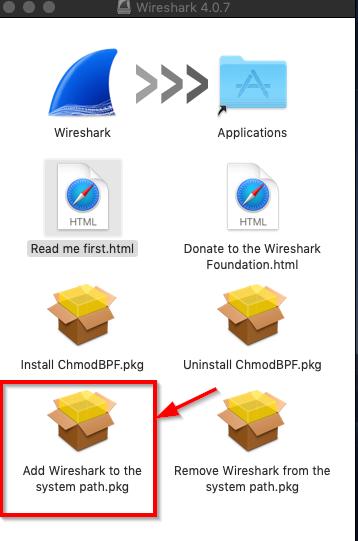
You will need to follow the installer’s steps to complete this process.
Once the installer is complete, you will now be able to run Wireshark. Simply open Wireshark from the Applications menu and select “Wireshark” to begin.
And now, you can begin to capture packets with Wireshark.
How to Install Wireshark on Debian-Based Systems
Now, let’s show you how to install Wireshark on Debian-based systems. These include OS’s such as Ubuntu, Kali, Mint, and others.
For our demo, we will be using Ubuntu.
To install packages on Debian systems, you must use the apt package manager, designed to handle software installation, upgrade, and removal.
Ensure your system is up to date by using the following commands.
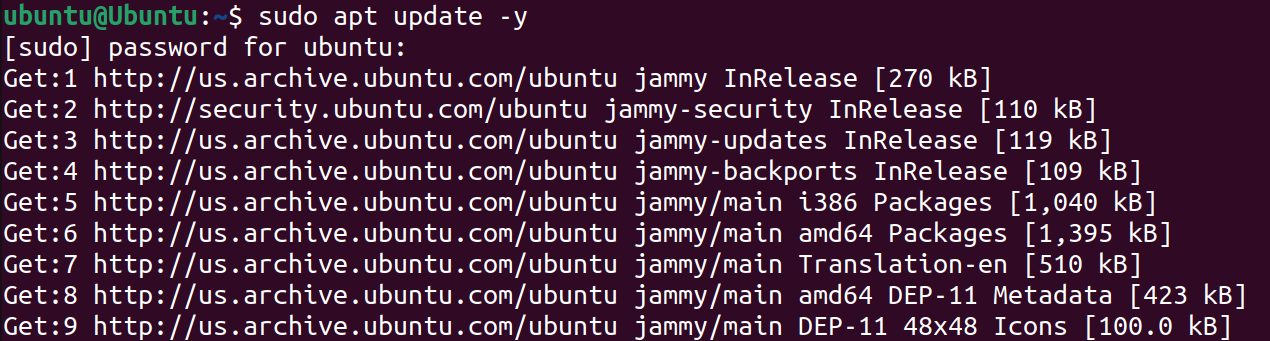
First, make sure your packages are up to date.
sudo apt update -y
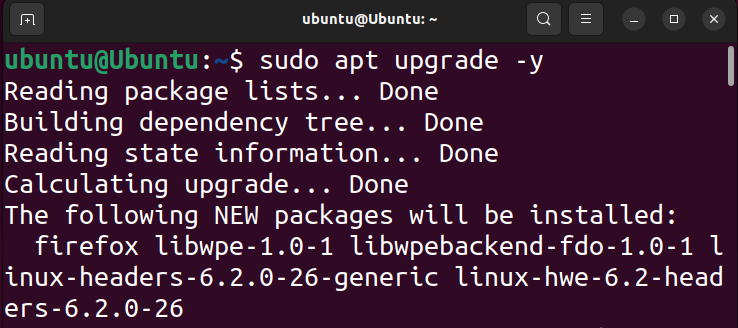
And then update the system with the following:
sudo apt upgrade -y
To install Wireshark, simply run the following command.
sudo apt install wireshark
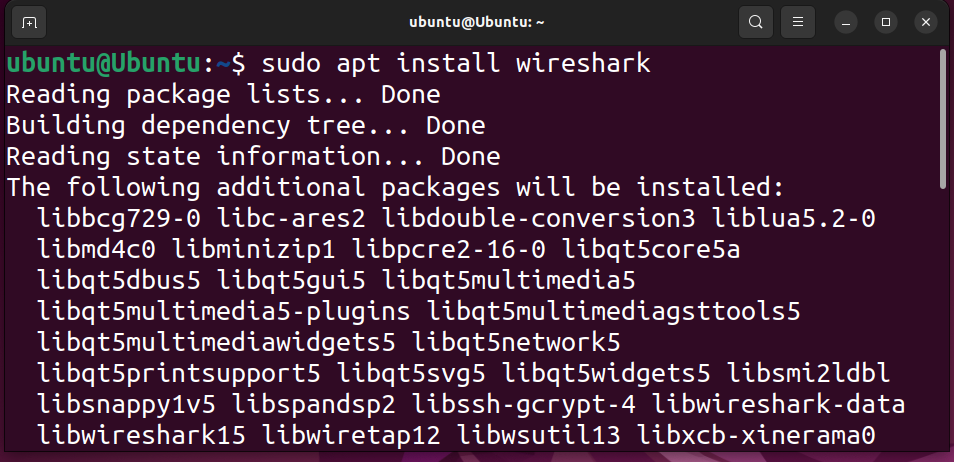
The installer will tell you how many MB will be used and if you want to continue. Select “Y” to continue with the installation.
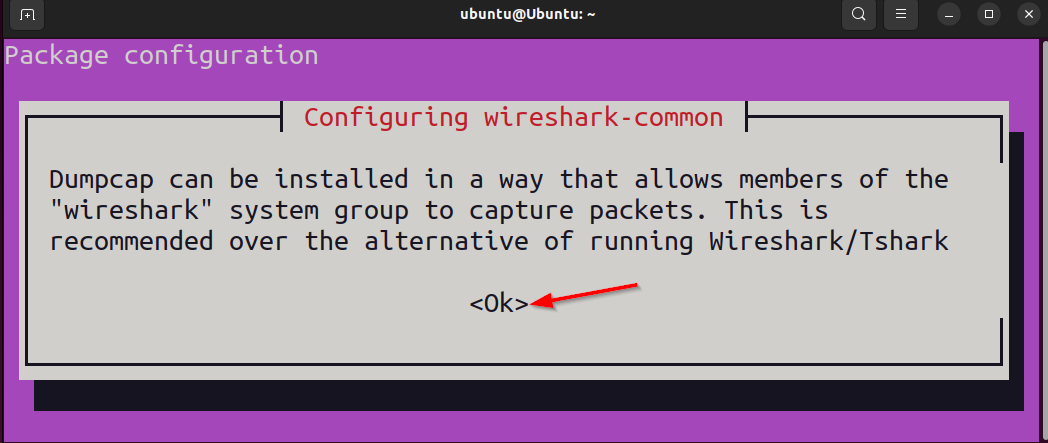
You will be presented with a package configuration screen informing you about Dumpcap (a component of the Wireshark suite that does the heavy lifting when capturing packets.)
Select “Ok” to continue
The next screen will ask if non-superusers should be allowed to capture packets. This essentially asks if you want to give users without administrative or “root” privileges the ability to capture packets using Wireshark. Choose “Yes” or “No.”

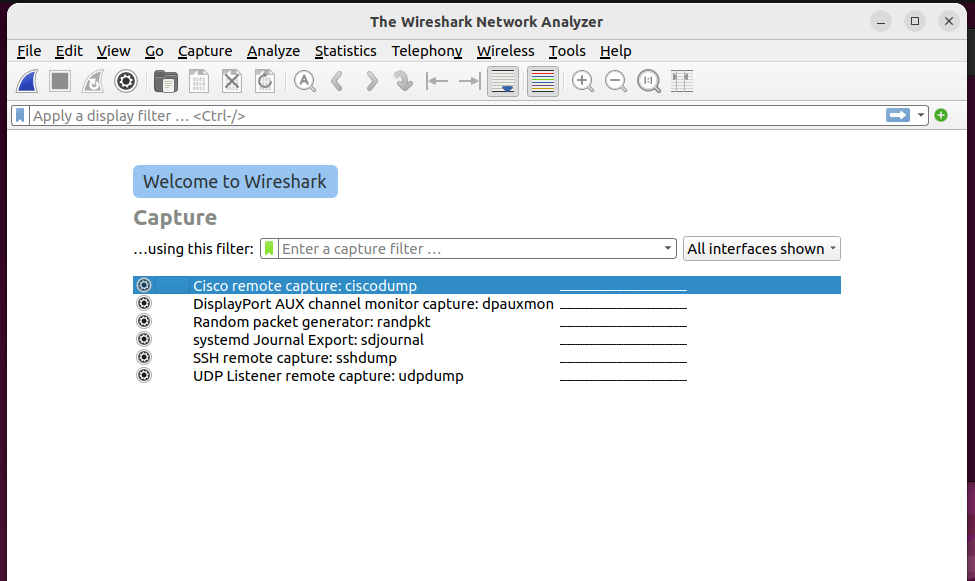
Wireshark will now be installed. Enter wireshark in the command line to open Wireshark.
How to Install Wireshark on Fedora-Based Systems
Next, we’ll show you how to install Wireshark on a Fedora-based system, including RHEL, CentOS, and others. For our demo, we are using Ultramarine.
Fedora uses the DNF (Dandified Yum) package manager as its primary tool for managing software packages. DNF replaced YUM in Fedora 22, but you may still encounter YUM if you use an older specific Red Hat-based distribution.
Before installing Wireshark, ensure your system is up to date by running the following commands.
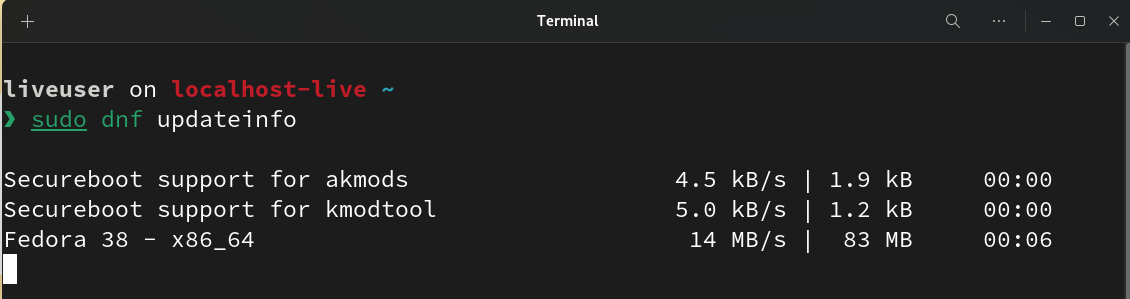
To update the DNF package repository information, use the following:
sudo dnf updateinfo
To upgrade all packages, use the following command:
sudo dnf upgrade

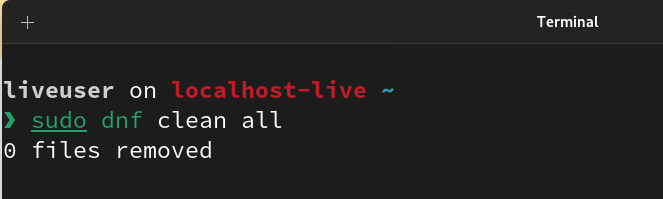
Sometimes, cleaning the cache to ensure no outdated metadata or packages are lingering around is a good idea. To do this, run the following:
sudo dnf clean all
Now you’re ready to install Wireshark. This can be done with the following command to install Wireshark and all the necessary dependencies.
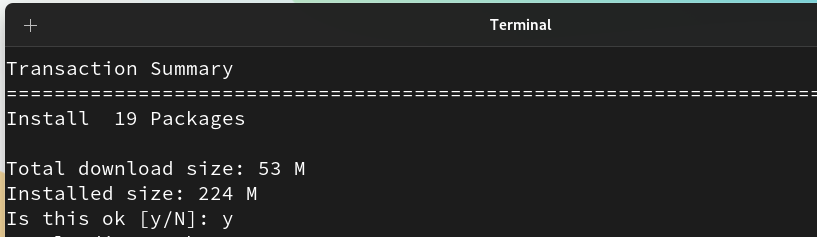
sudo dnf install wireshark

You will be asked if you want to install the packages. Simply enter “y” to continue.
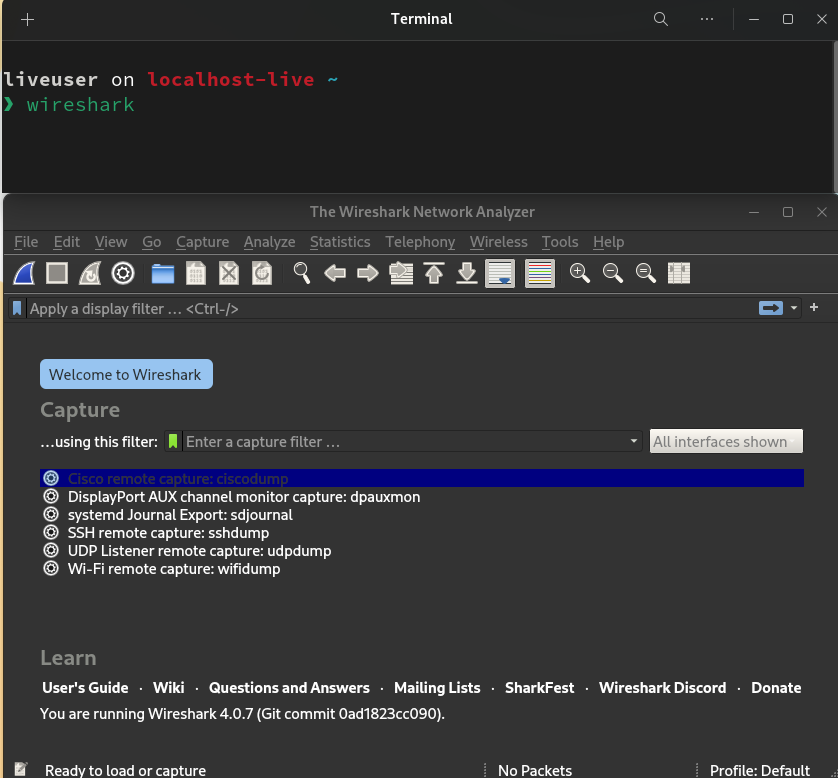
To start Wireshark, simply enter wireshark in the terminal.
How to Install Wireshark on Arch-Based Systems
We will now show you how to install Wireshark on an Arch-based system, including Manjaro, Garuda, and EndeavourOS.
For our demo, we will be using Manjaro.
Arch-based systems use pacman to manage software packages. This package manager is responsible for handling installations, updates, and removals.
Before we install Wireshark, let’s make sure the system is updated. We must synchronize the package database and upgrade the system to do this.
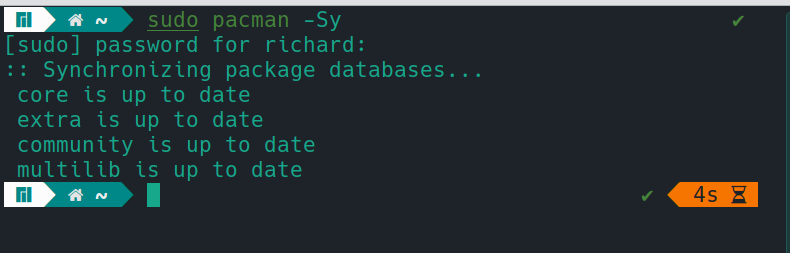
To synchronize the database, use the following command.
sudo pacman -Sy
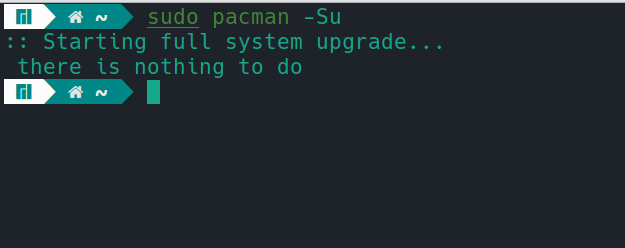
We must update all installed packages to their latest versions with the following command.
sudo pacman -Su
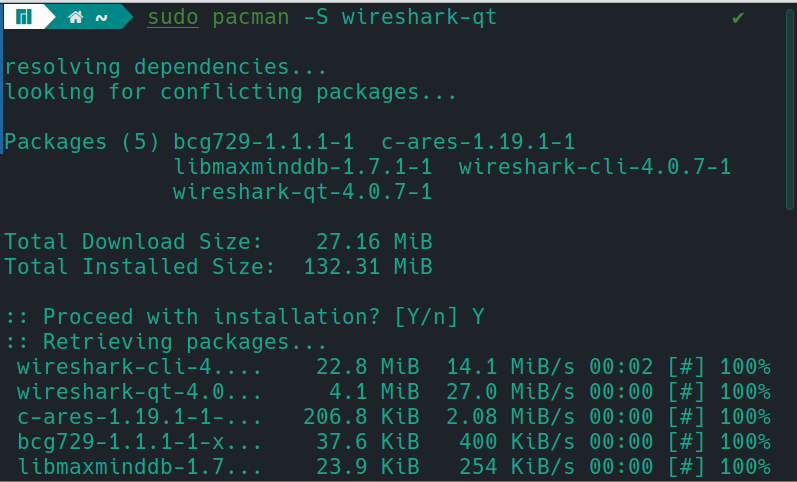
Now we can install Wireshark and all the required packages by running the below command.
sudo pacman -S wireshark-qt
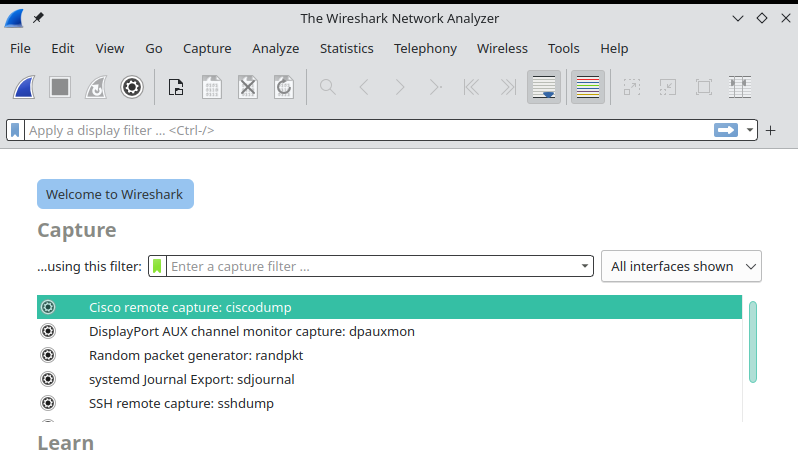
Enter wireshark in the terminal to load Wireshark.
How to Compile Wireshark From Source on Linux Systems
The easiest way to install Wireshark on Linux is with the package manager, but If you want to build Wireshark from source, we will show you a method on Ubuntu 22.04. The steps should generally be similar for other Linux distributions.
You would want to use this method instead of a package manager for a few reasons.
- It lets you access the newest features and bug fixes directly from the developers.
- Building from source allows you to enable or disable specific features based on your needs or the environment you're deploying in.
- It can provide a deeper understanding of the software, its dependencies, and the overall system architecture. It's a good learning experience.
Ensure you have the latest software packages installed from the system's repositories:
sudo apt-get update
Set the system's timezone according to your IP address:
export DEBIAN_FRONTEND=noninteractive
sudo ln -fs /usr/share/zoneinfo/$(curl http://ip-api.com/line?fields=timezone) /etc/localtime
sudo apt-get install -y tzdata

Next, install the necessary packages that are needed to build Wireshark:
sudo apt-get install -y build-essential git cmake qttools5-dev qttools5-dev-tools libqt5svg5-dev qtmultimedia5-dev \
qt6-base-dev qt6-multimedia-dev qt6-tools-dev qt6-tools-dev-tools qt6-l10n-tools libqt6core5compat6-dev libpcap-dev \
libc-ares-dev libgcrypt20-dev libglib2.0-dev flex bison libpcre2-dev libnghttp2-dev libspeexdsp-dev

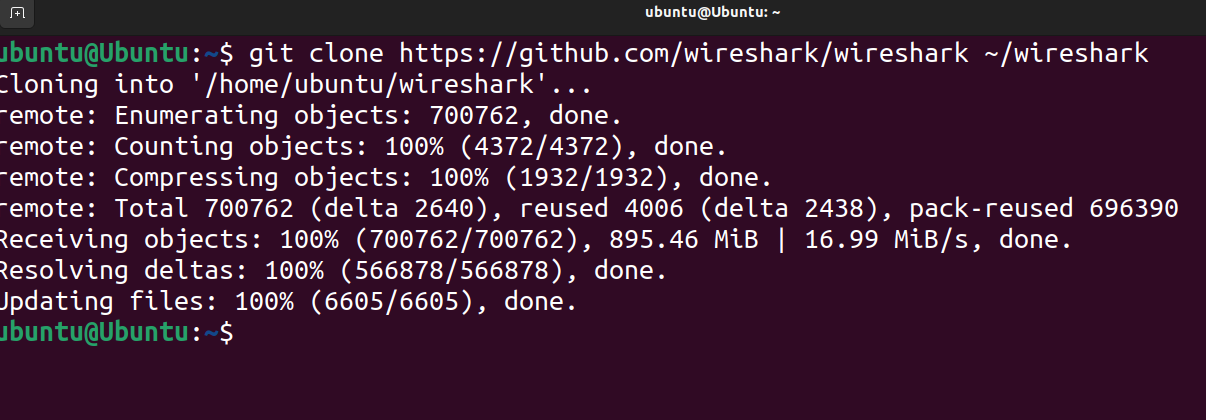
The following commands clone the Wireshark repository, navigate into it, create a build directory, move into that directory, run the cmake command to generate the build files, and then make to build the software.
git clone https://github.com/wireshark/wireshark ~/wireshark
cd ~/wireshark
sudo mkdir build
cd build
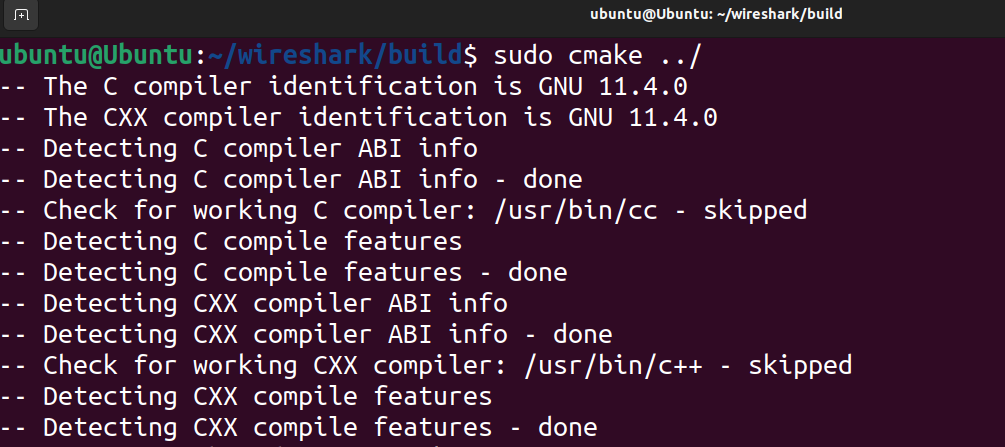
sudo cmake ../
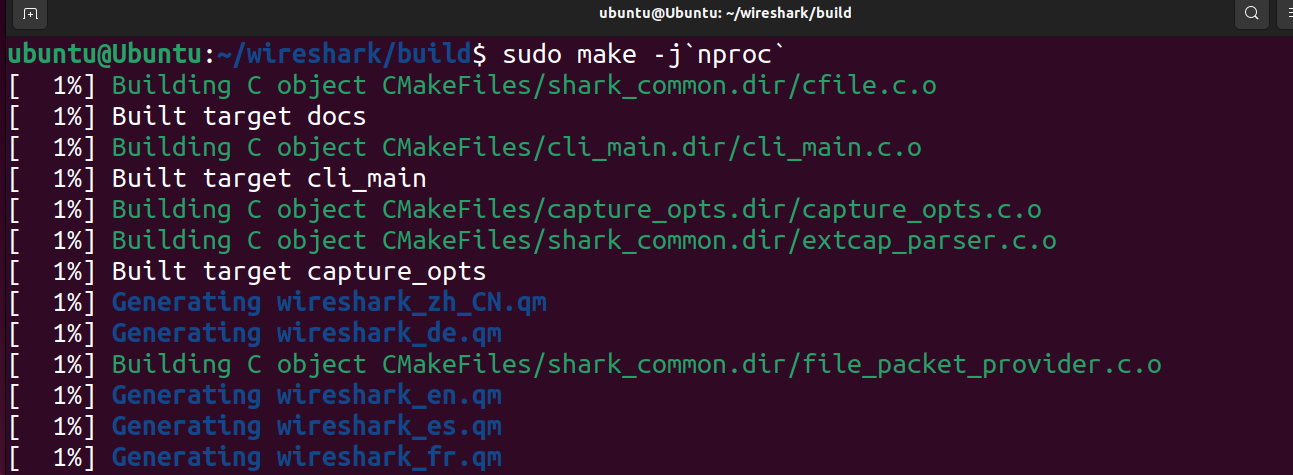
sudo make -j`nproc`
This command will take a while to complete, so grab a cup of coffee, tea, or your favorite beverage, sit back, and let the compiling work it’s magic.
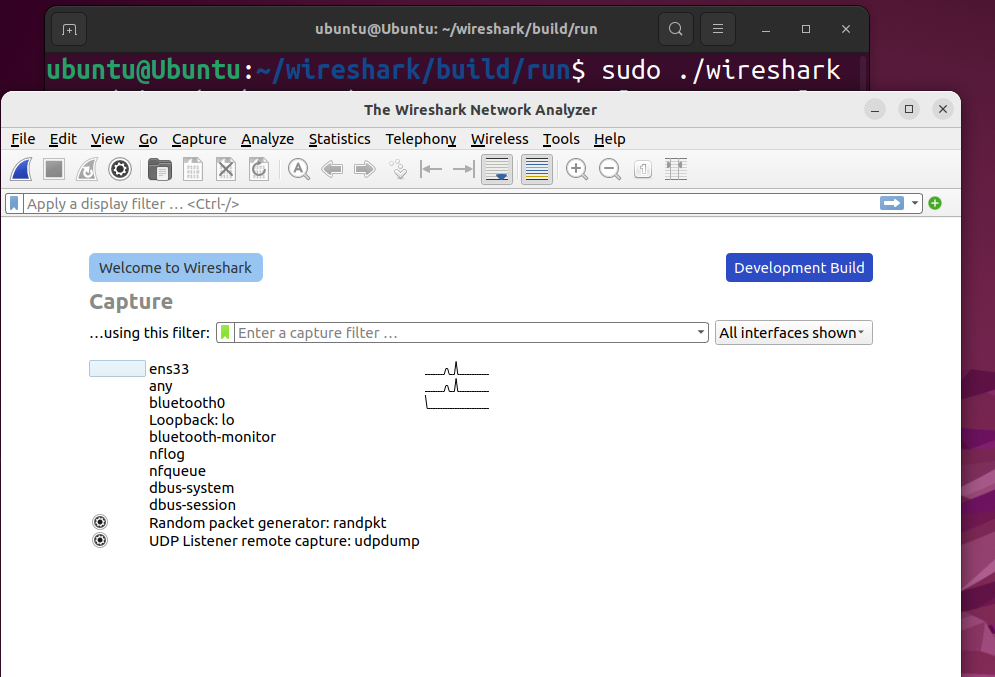
You can now run Wireshark by running the following command from the /wireshark/build/run directory.
sudo ./wireshark
Are you looking for common Wireshark commands all in one place? See our Wireshark cheat sheet.
Conclusion
You should now be able to install Wireshark in any environment you come across. Whether it be Windows, macOS, or various Linux systems such as Debian, Fedora, and Arch.
You can even compile Wireshark from source and install it on a Linux system like Ubuntu.
Now that you know how to install Wireshark, it's time to learn how to use it. And we have a few courses for you below.


Frequently Asked Questions
Nmap and Wireshark serve different primary purposes, so comparing them in terms of "better" or "worse" is not straightforward. We have a great article, “Nmap vs Wireshark: Comparing The Two Popular Network Tools” that breaks down the pros and cons of each.
The Nmap scripting engine is a great feature that enables users to write and share scripts. To read more, see our detailed article “How to Master the Power of the Nmap Scripting Engine.”
To start using Wireshark, simply launch the application, select the network interface you want to monitor, and click the 'Start' button. For a more in-depth analysis of how to use Wireshark, please see our article “How to Use Wireshark to Capture Network Traffic: Full Guide”
from StationX https://bit.ly/3KXFmOw
via IFTTT
No comments:
Post a Comment